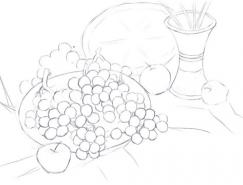
Liquid ink 是painter 7新增的笔刷,特别适合于装饰性的插画的绘制。内建的那一大堆的液态墨水笔足够用了,有兴趣可以每种都尝试一下,寻找自己满意的效果……下面这个实例将具体讲述液态墨水笔的用法以及一些特殊辅助技巧。最后完成图:

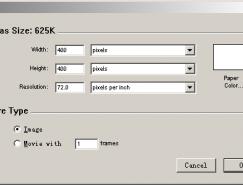
1. 新建文件,用cover pencil(覆盖铅笔),选用50%左右的中性灰色起稿。
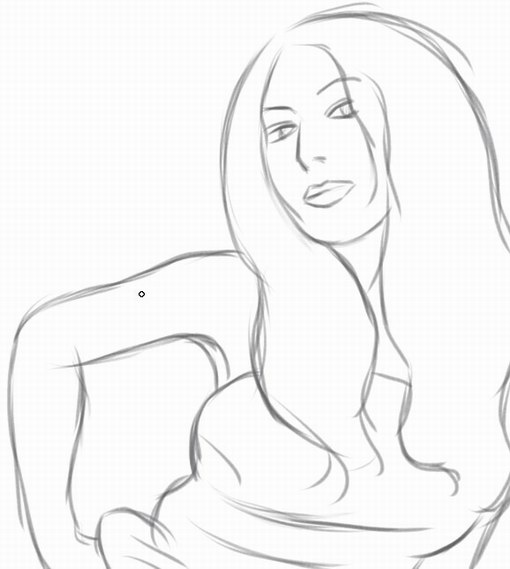
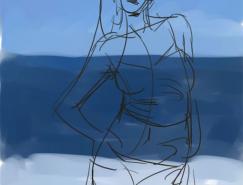
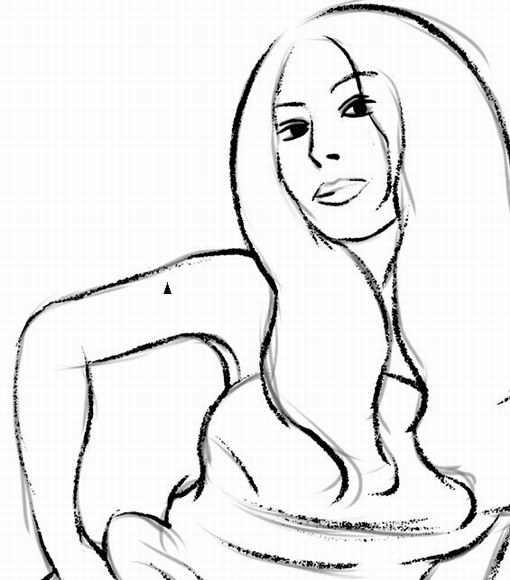
2.新建一个Liquid ink layer(液态墨水笔图层),选用Velocity sketcher(速写素描),用黑色,勾画轮廓线。
Velocity sketcher(速写素描)的笔触质感很像传统木炭手绘。
如果画错的线条就用Liquid里面的Eraser(橡皮擦)清除。
需要平滑表达的局部线条可以用Fine point(针尖笔)来勾画。
3.双击液态墨水图层1,重新命名便于区别。新增一个液态墨水图层在原来图层下面,用Coarse bristle(粗糙硬毛笔)画出肤色部分的简单转折面。
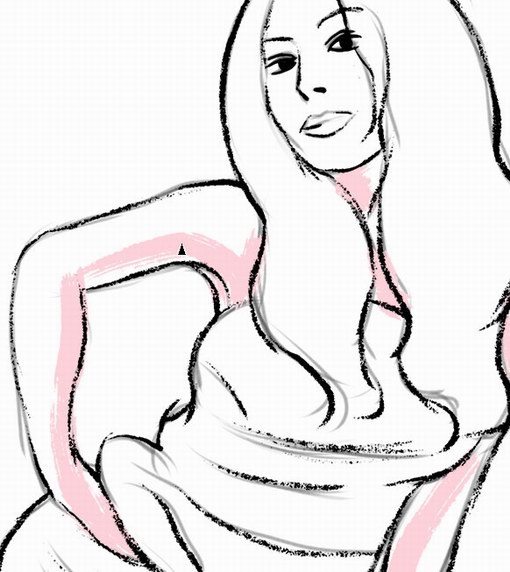
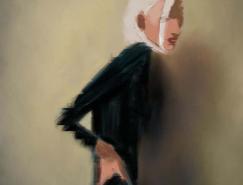
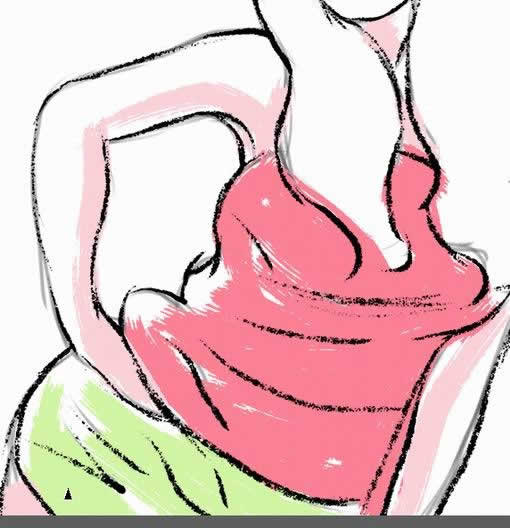
4.继续用Coarse bristle(粗糙硬毛笔)画出衣服和裤子部分的大体色调,用笔可以随意轻松一些。
5.用Dry camel(干驼毛笔)画出头发的笔触色块。