这次的PS教程主要介绍如何用Photoshop作出高品质的图像。学习用新的方法来创建自然肌肤效果,本教程没有用任何的额外的插件。
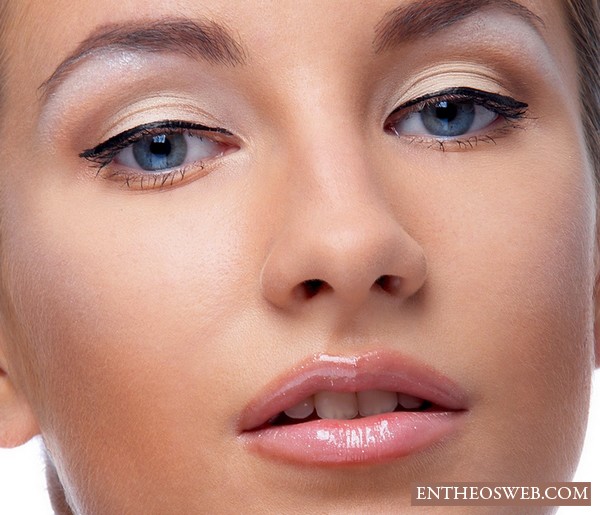
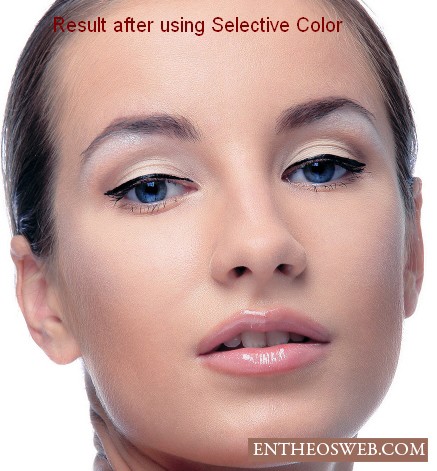
效果图:
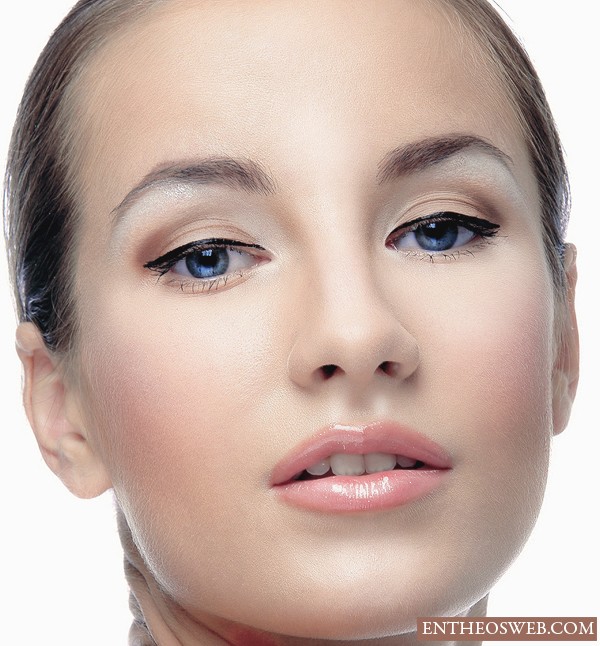
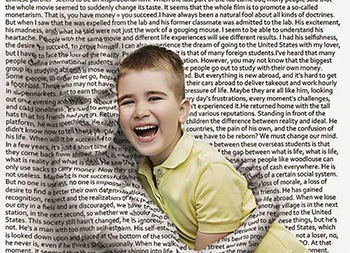
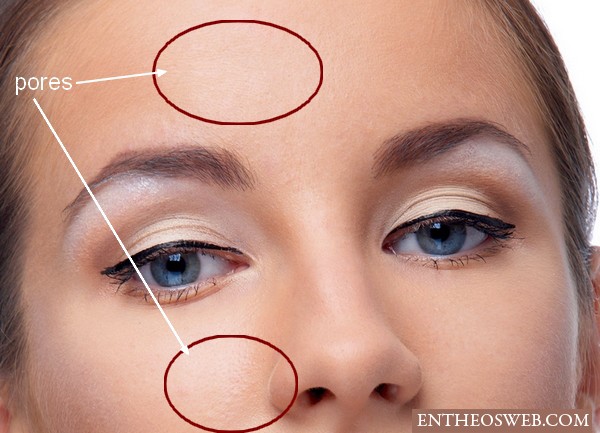
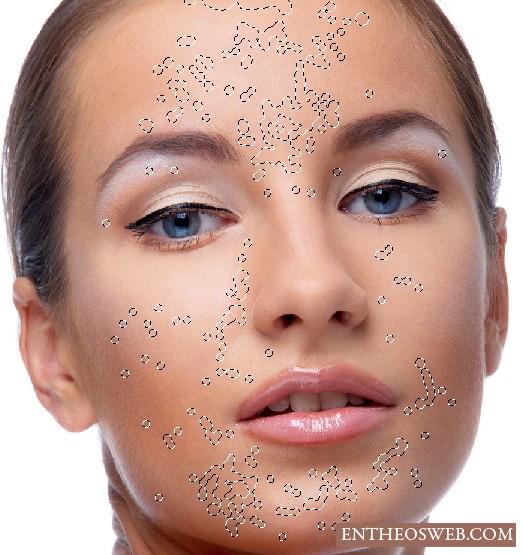
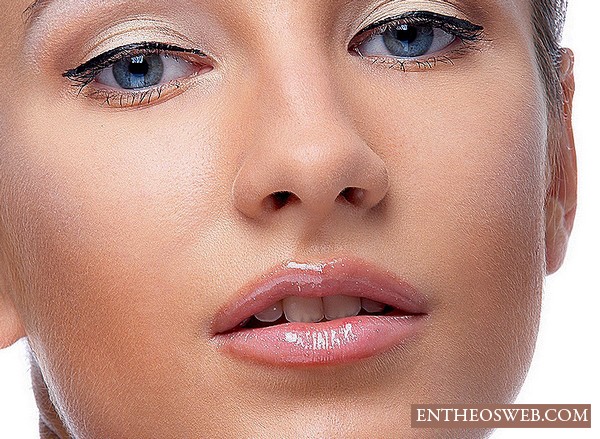
打开图片。记住不是所有的图像可以适合这个修饰风格。你应该选择一幅高质量和人物皮肤不要过于光滑)或模糊,至少应该清晰可见毛孔
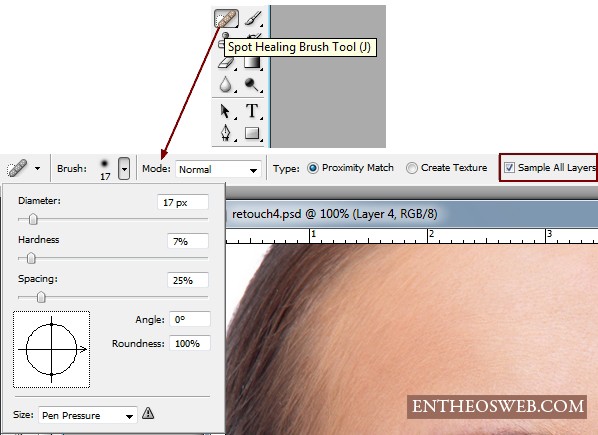
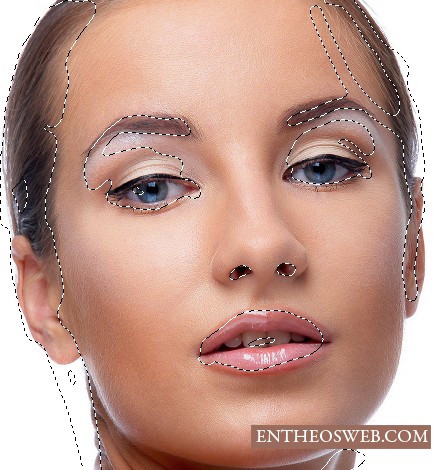
这一步后,一个完美的皮肤清洁就完成了,你能看到我脸上运用这个工具的轨迹如下:

盖印一个图层,滤镜―锐化―智能锐化
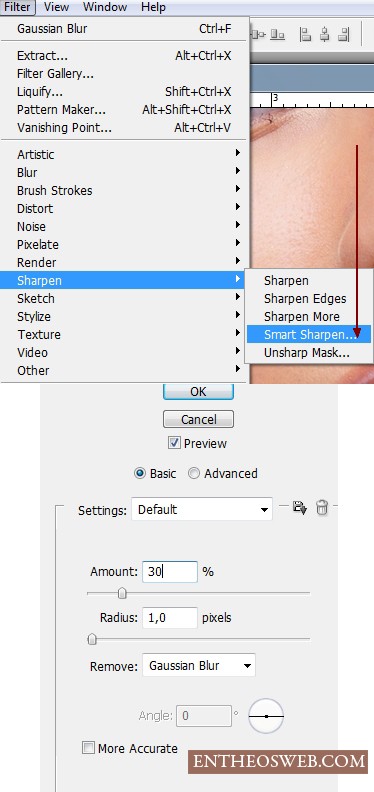
Step 3第三步
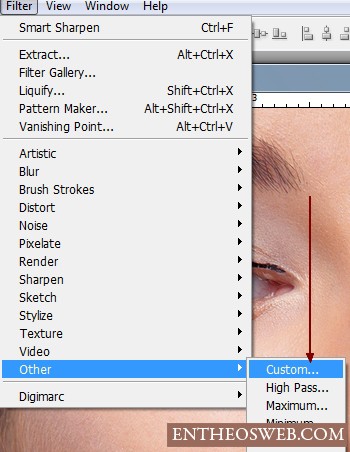
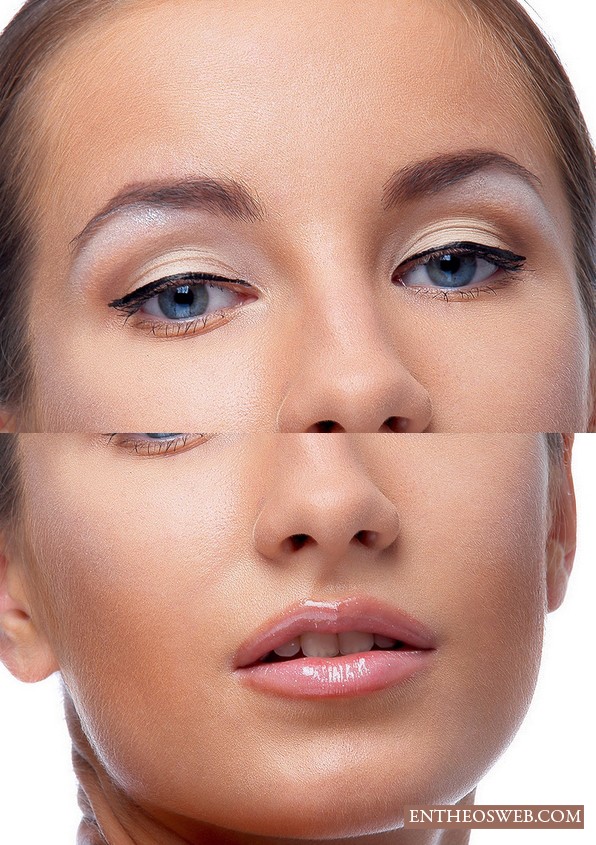
合并所有图层了。现在我将使用一个方法你可以不使用前给人留下一个好的寻找皮肤。确保所有零件清洗皮肤,否则将看起来可怕的使用这一步骤。
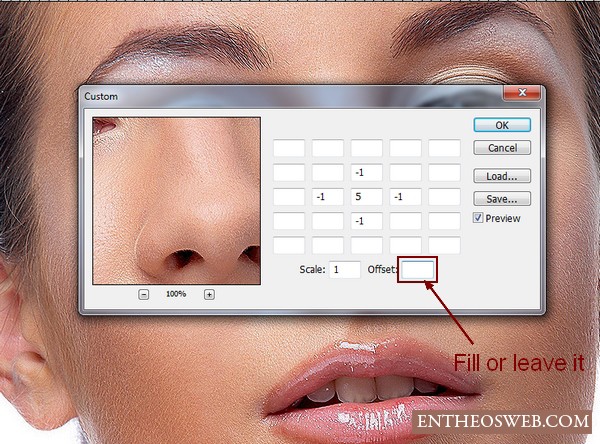
选择滤镜―其它―自定:

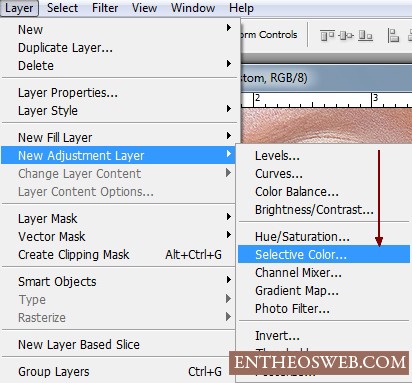
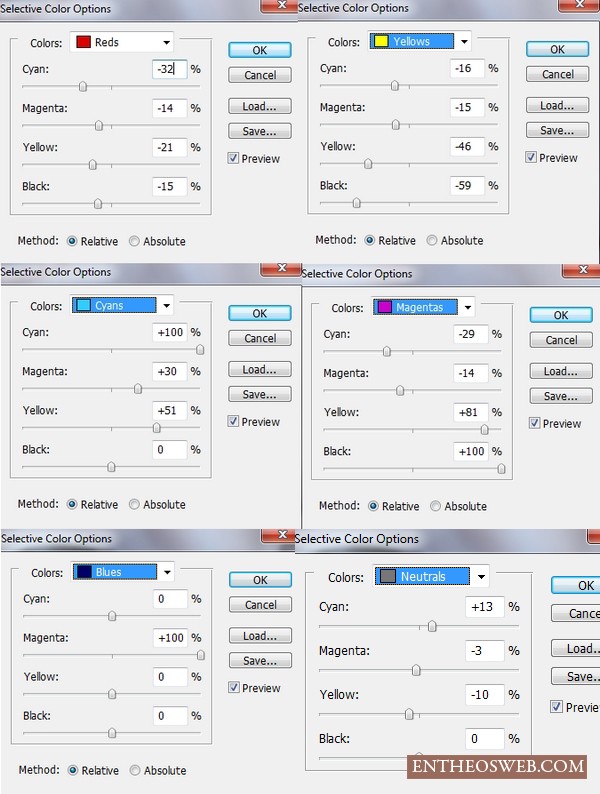
我要用一些调整层,以改变肤色使它看起来好多了。创建一个可选颜色调整层
标签:Photoshop