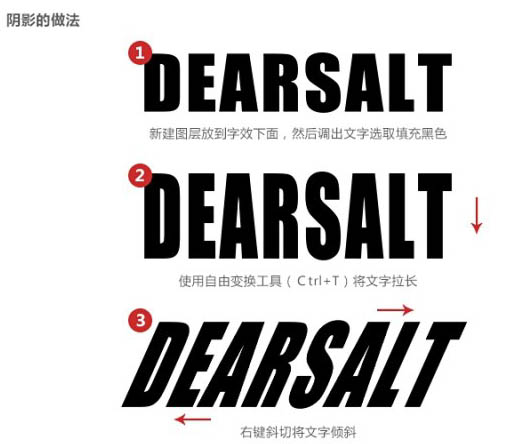
3、阴影的做法如下:
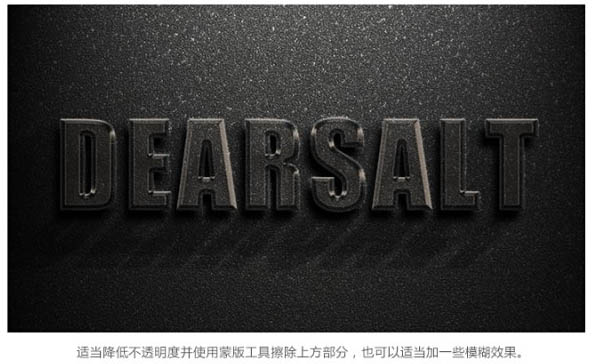
4、适当降低不透明度并使用蒙版工具擦除上方部分,也可以适当加一些模糊效果。
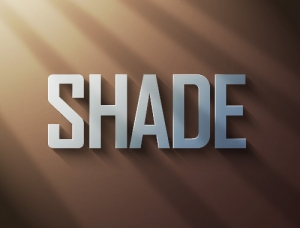
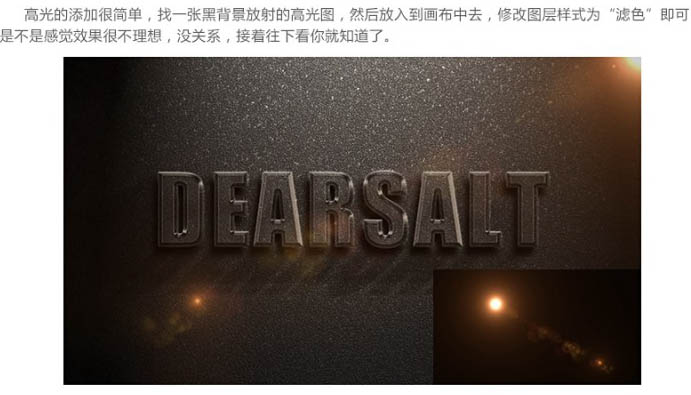
5、高光的添加很简单,找一张黑背景放射的高光图,然后放入到画布中去,修改图层样式为“滤色”即可。是不是感觉效果很不理想,没关系,接着往下看你就知道了。

<点小图查看大图>
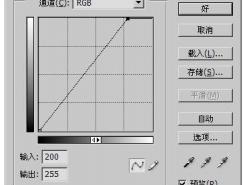
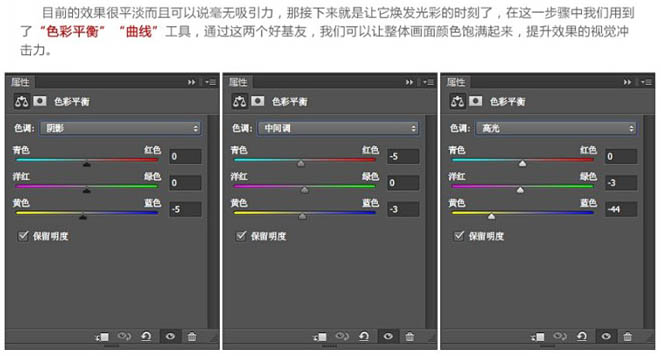
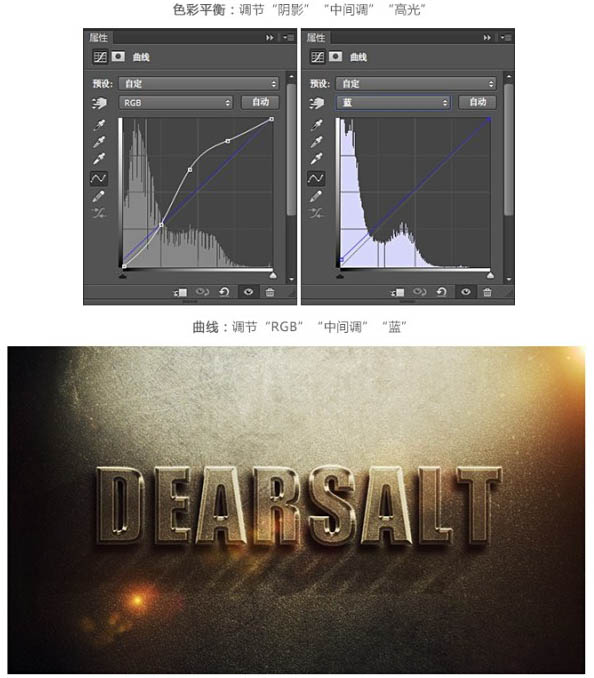
6、目前的效果很平淡而且可以说毫无吸引力,那接下来就是让它焕发光彩的时刻了,在这一步骤中我们用到了“色彩平衡”“曲线”工具,调整后我们可以让整体画面颜色饱满起来,提升效果的视觉冲击力。
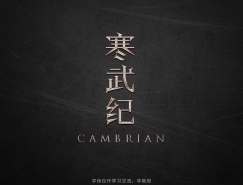
7、目到此字体的制作以及大功告成,剩下的就是要为整件作品添加一些装饰。

最终效果:

<点小图查看大图>
标签:立体字