抠玻璃物体并不难。首先要用钢笔等把整体轮廓抠出来;再用通道分别把暗部和高光提取出来;最后设置想要的背景色,再对暗部设置相应的颜色,就可以快速抠出物体。
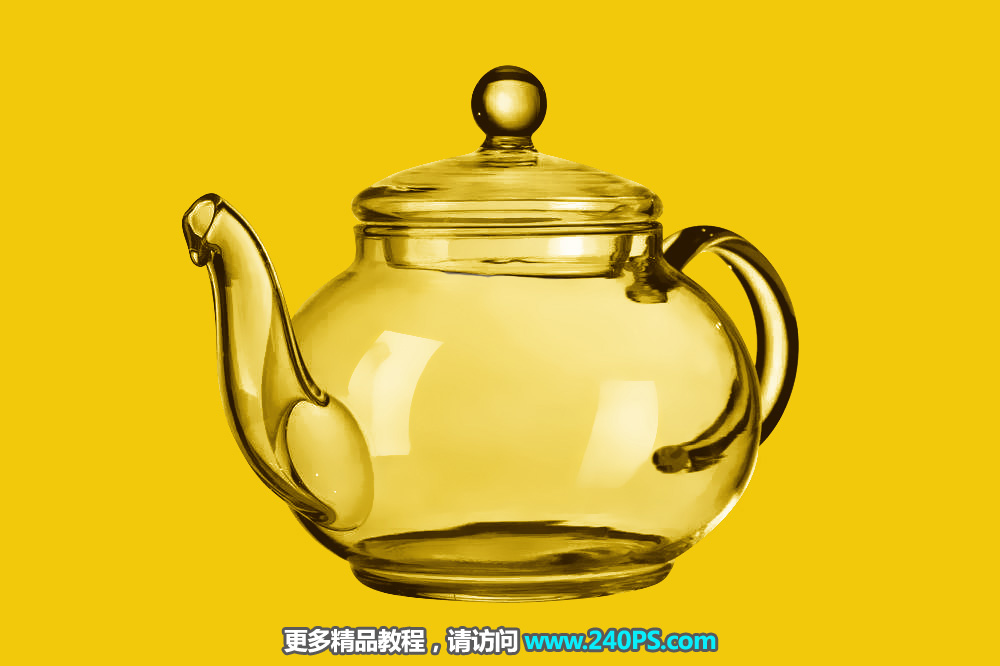
最终效果
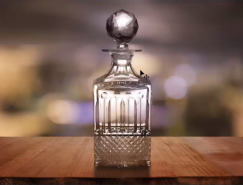
原图
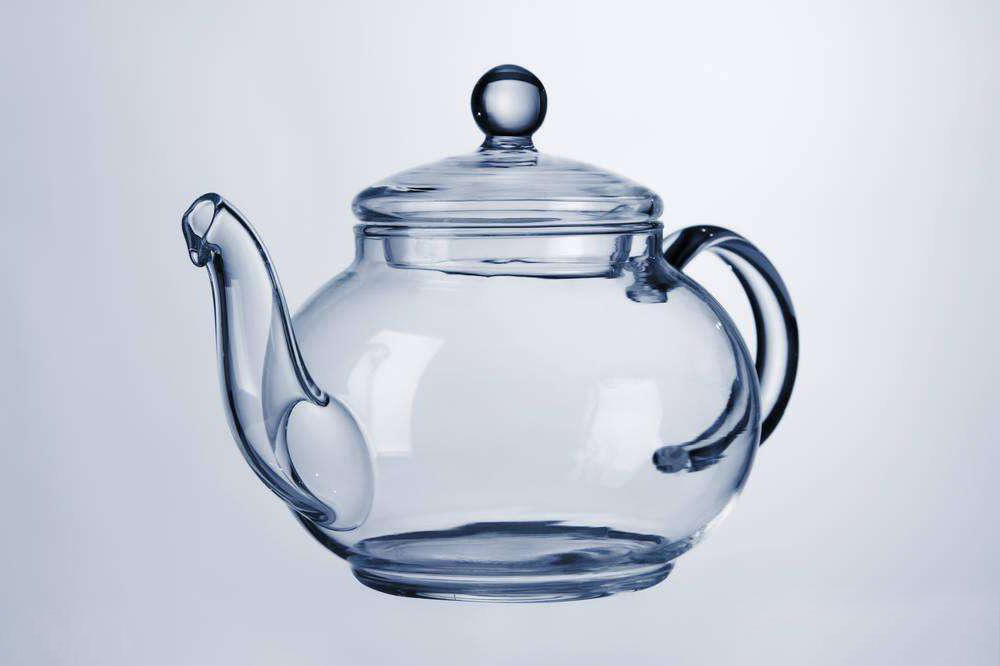
1、把上面的玻璃水壶素材保存到本机,打开PS软件,再打开保存的素材。
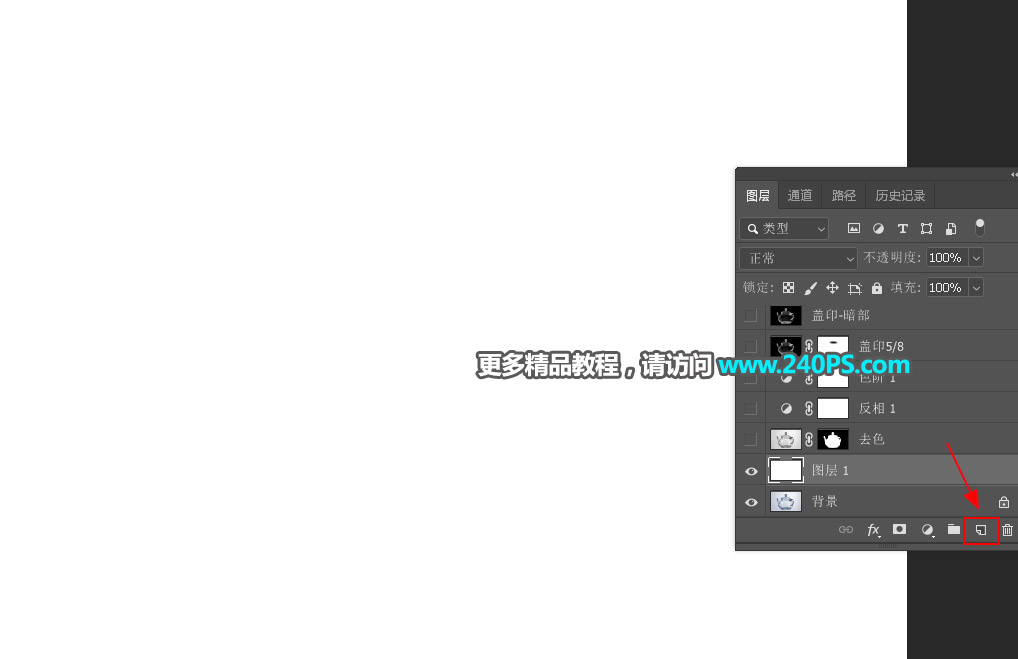
2、新建一个图层,填充白色。
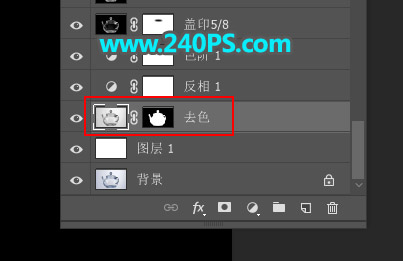
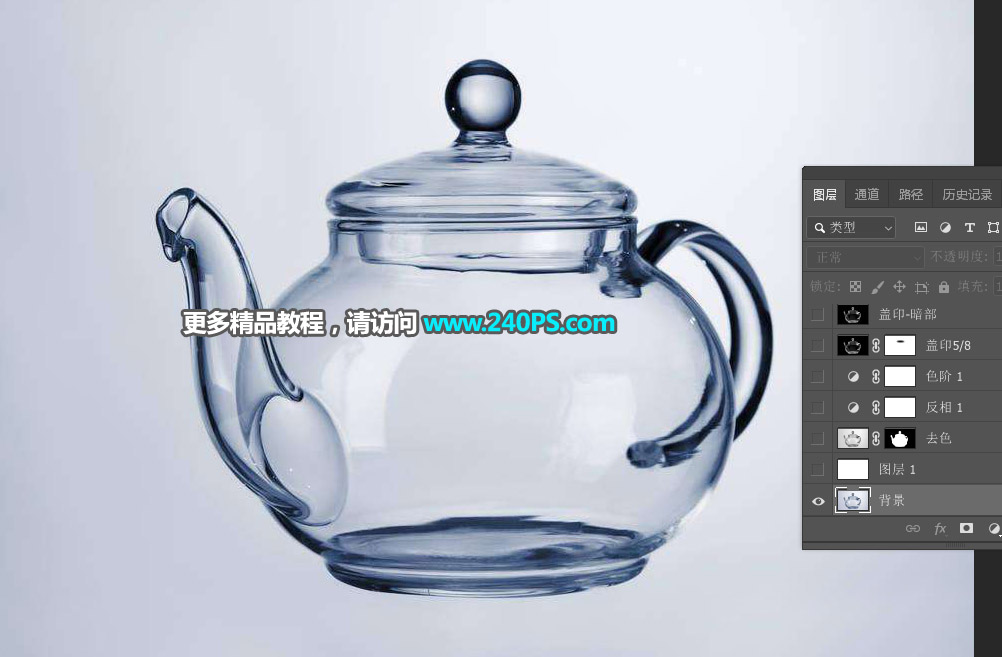
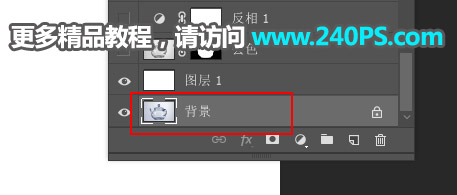
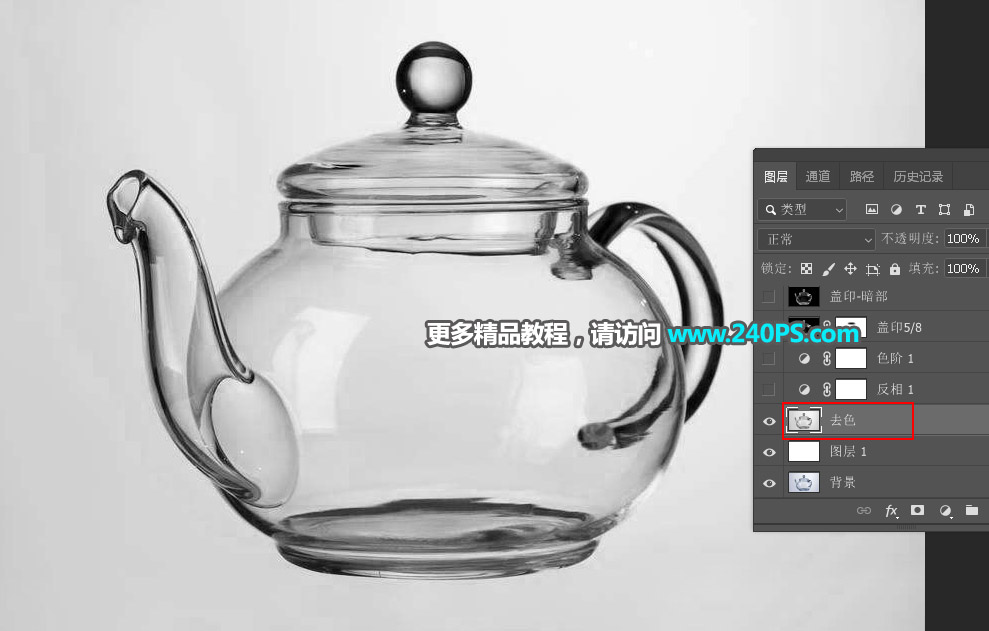
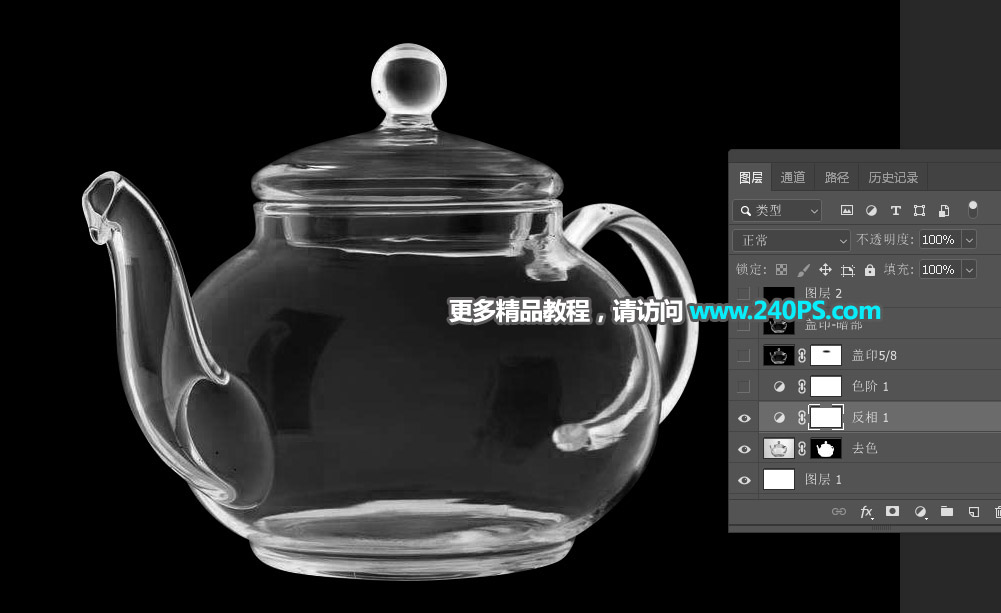
3、选择背景图层,按Ctrl + J 复制一层,按Ctrl + Shift + ] 置顶,再按Ctrl + Shift + U 去色。
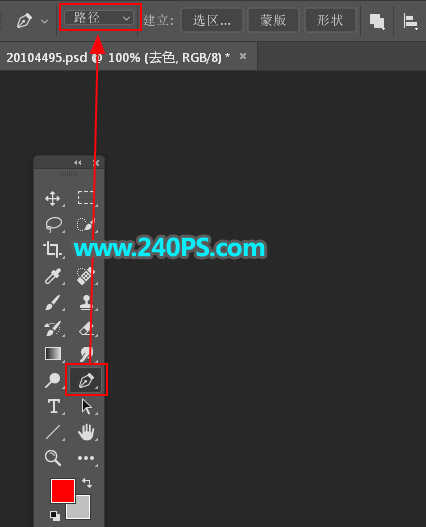
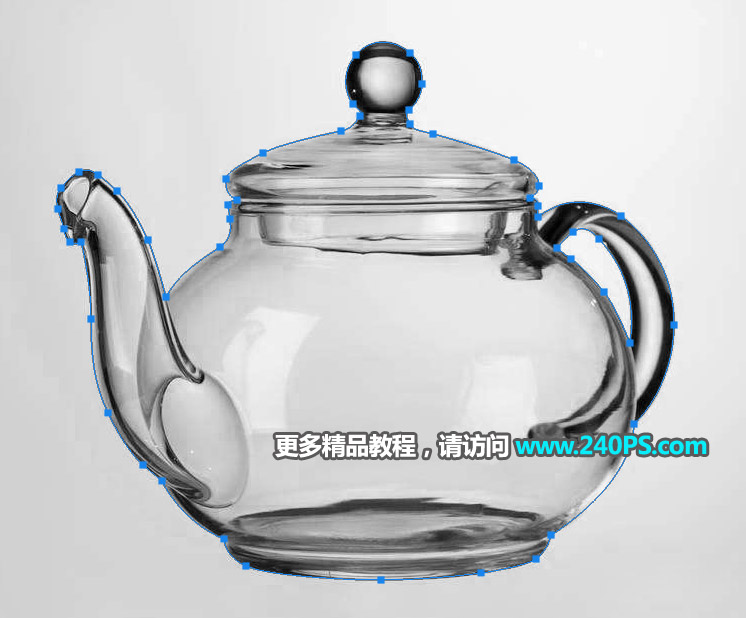
4、抠出水壶。在工具箱选择“钢笔工具”,在属性栏选择“路径”,然后沿着水壶的边缘勾出闭合路径,过程如下图。
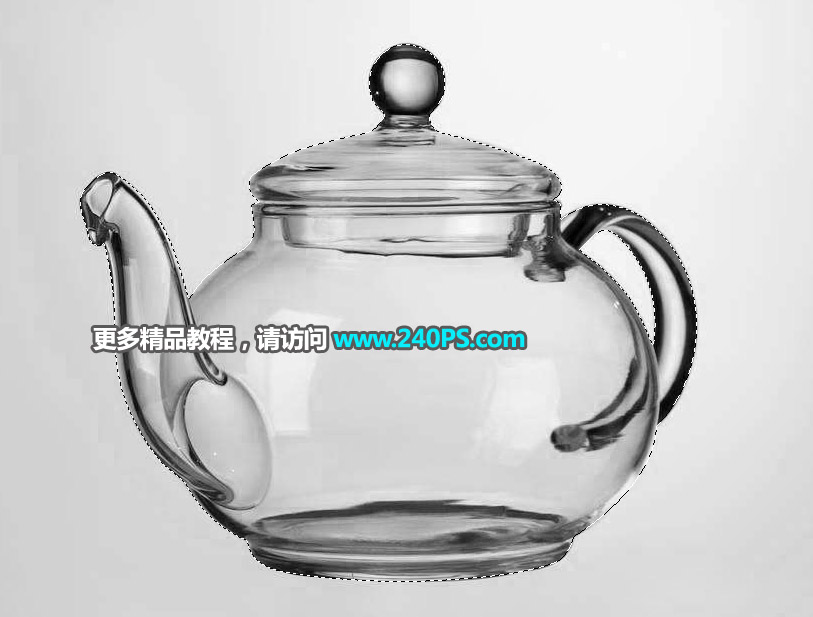
5、按Ctrl + 回车把路径转为选区,然后点击蒙版按钮,添加图层蒙版,这样就快速抠出水壶。
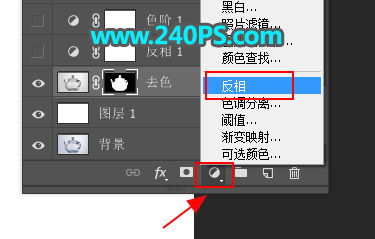
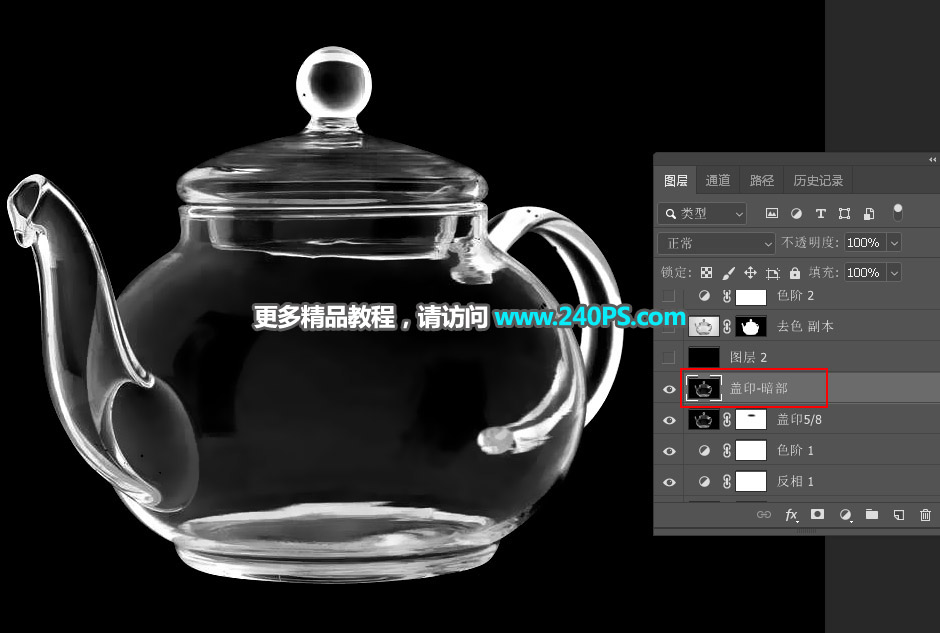
6、提取暗部区域。创建一个反相调整图层,效果如下图。
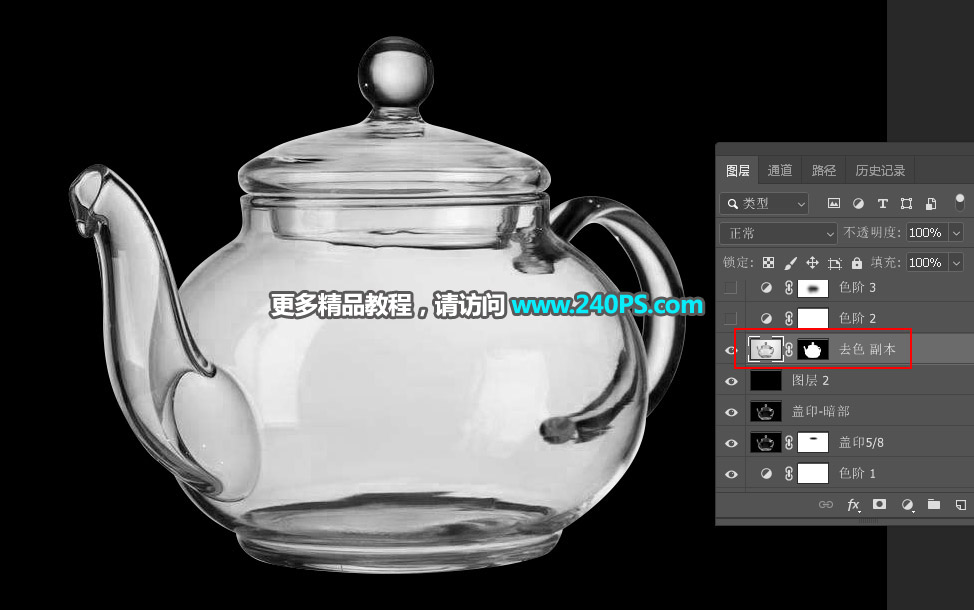
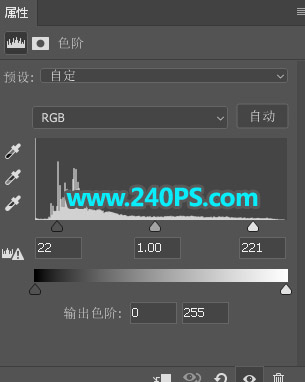
7、创建色阶调整图层,增加明暗对比,参数及效果如下图。
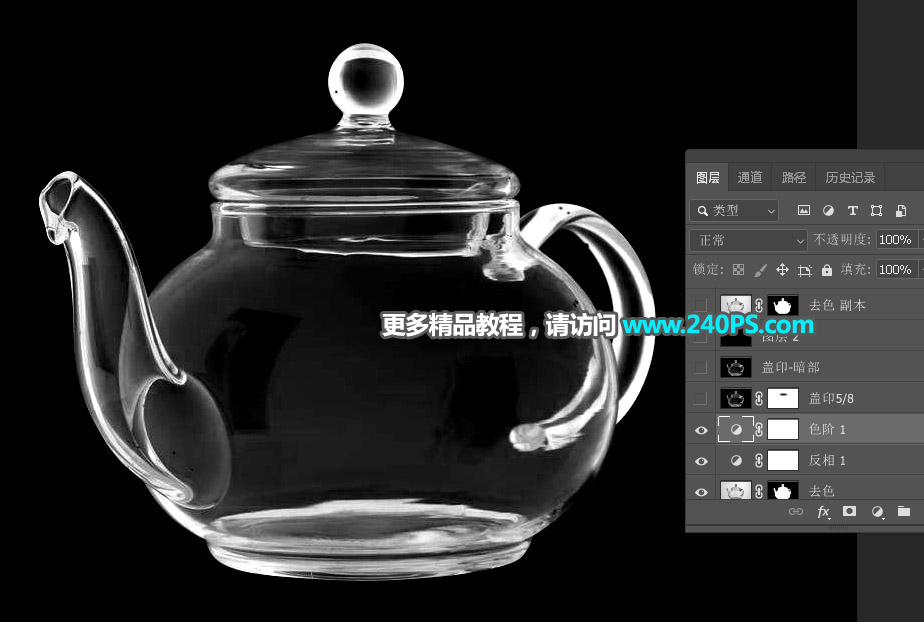
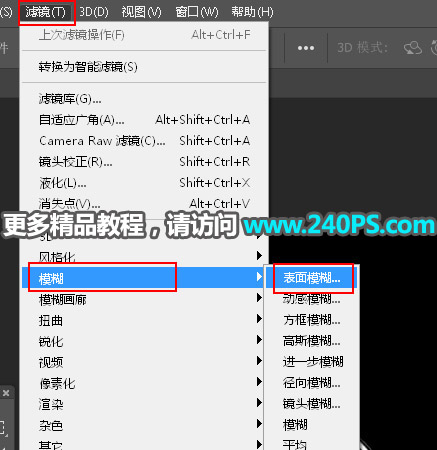
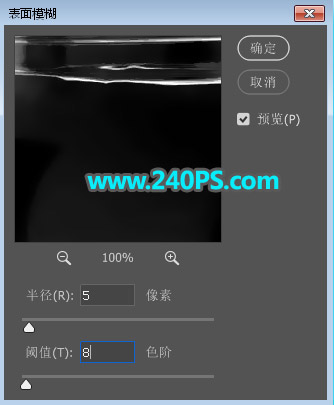
8、降噪处理。新建一个图层,按Ctrl + Alt + Shift + E 盖印图层。然后选择菜单:滤镜 > 模糊 > 表面模糊,参数及效果如下图。
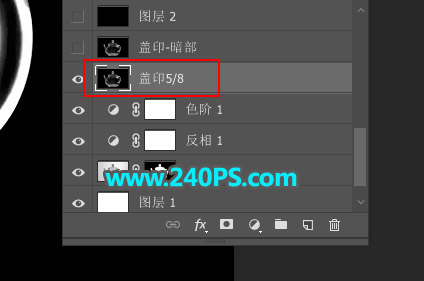
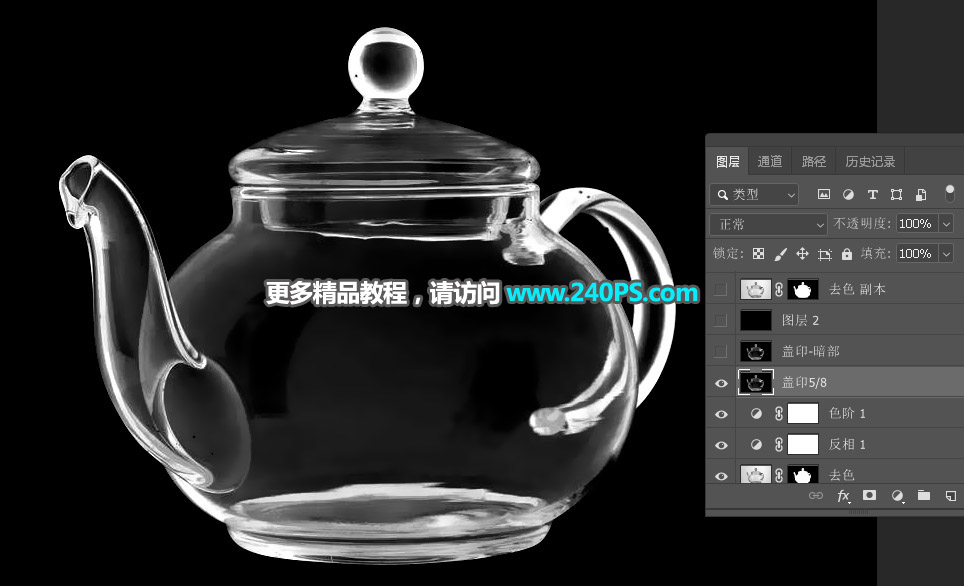
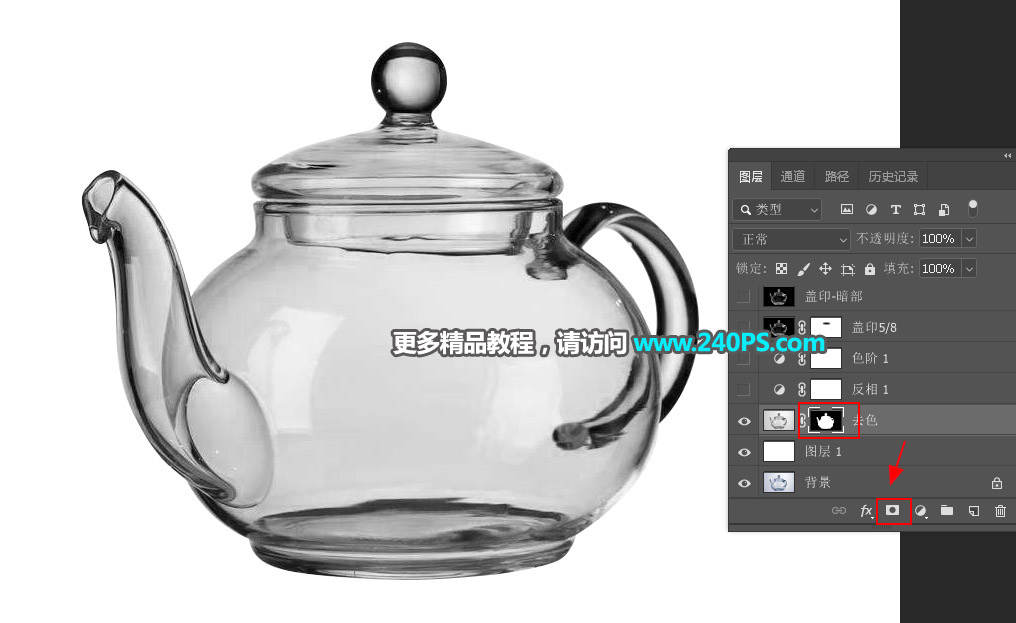
9、新建一个图层,盖印图层。然后命名为“盖印-暗部”,如下图。
10、提取高光。新建一个图层,填充黑色。
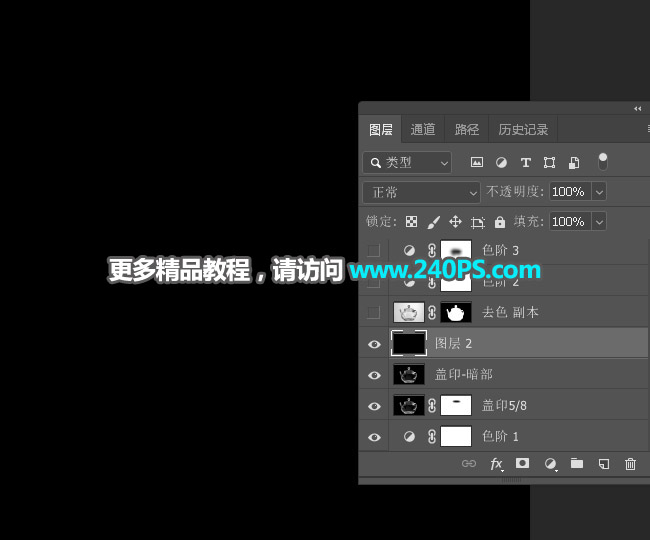
11、选择底部的“去色”图层,按Ctrl + J 复制一层,按Ctrl + Shift + ] 置顶。