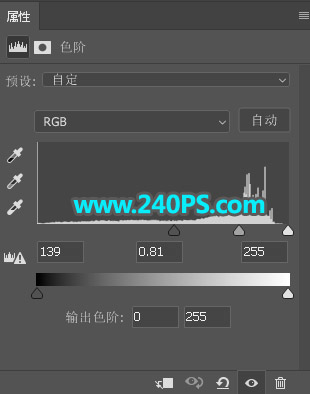
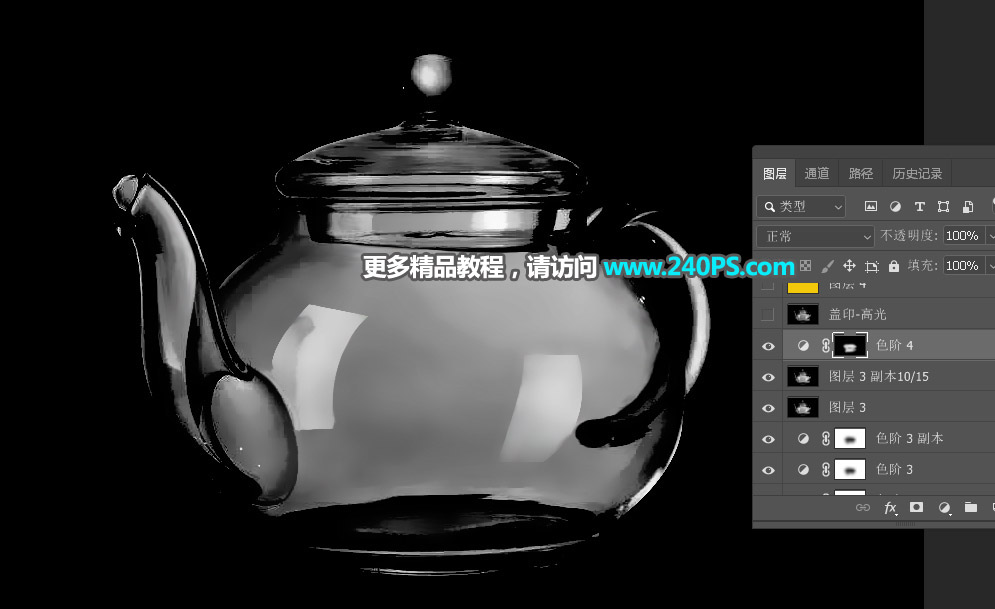
12、创建色阶调整图层,把暗部和中间调颜色大幅压暗,参数及效果如下图。
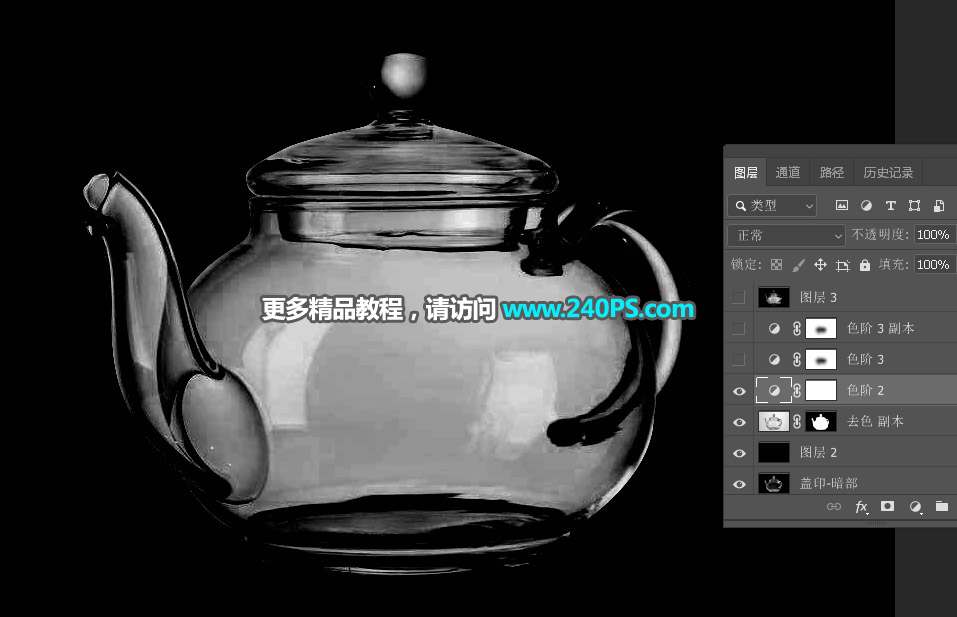
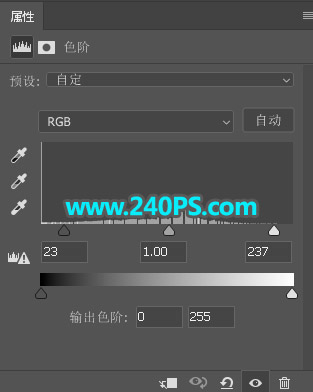
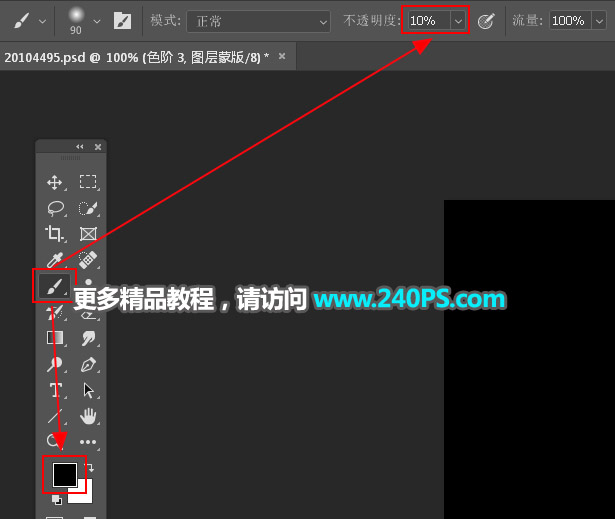
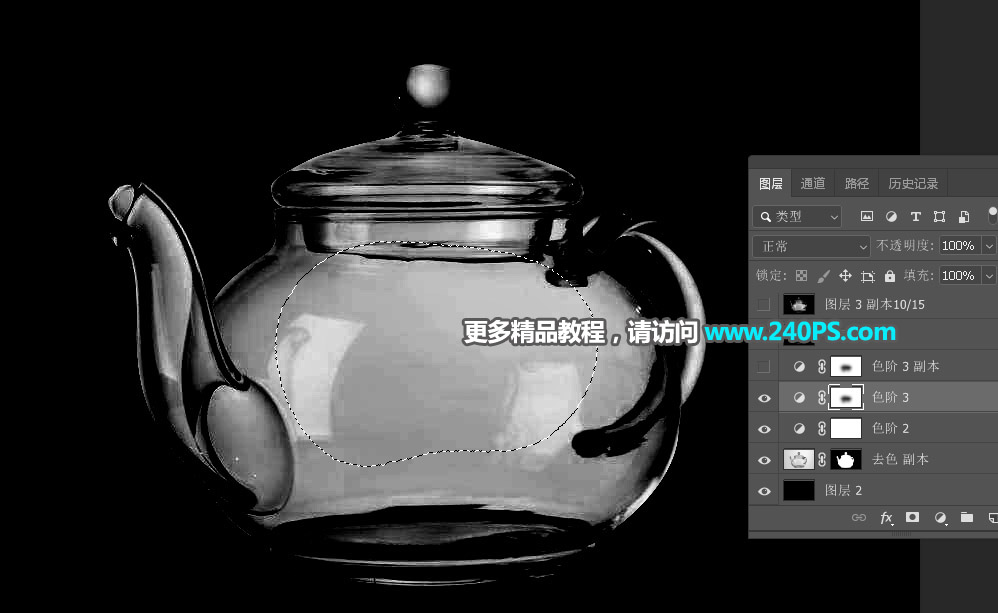
13、创建色阶调整图层,增加明暗对比,确定后用下面的柔边画笔把水壶中间部分涂出来,如下图。
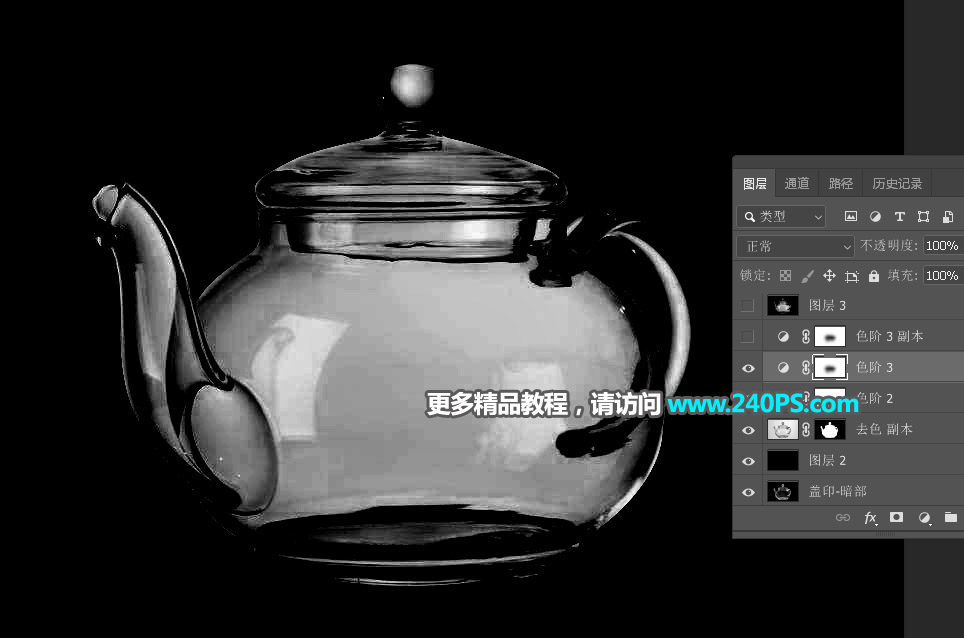
14、按Ctrl + J 把当前图层复制一层,如下图。
15、新建一个图层,盖印图层,同样的方法用滤镜降噪处理。
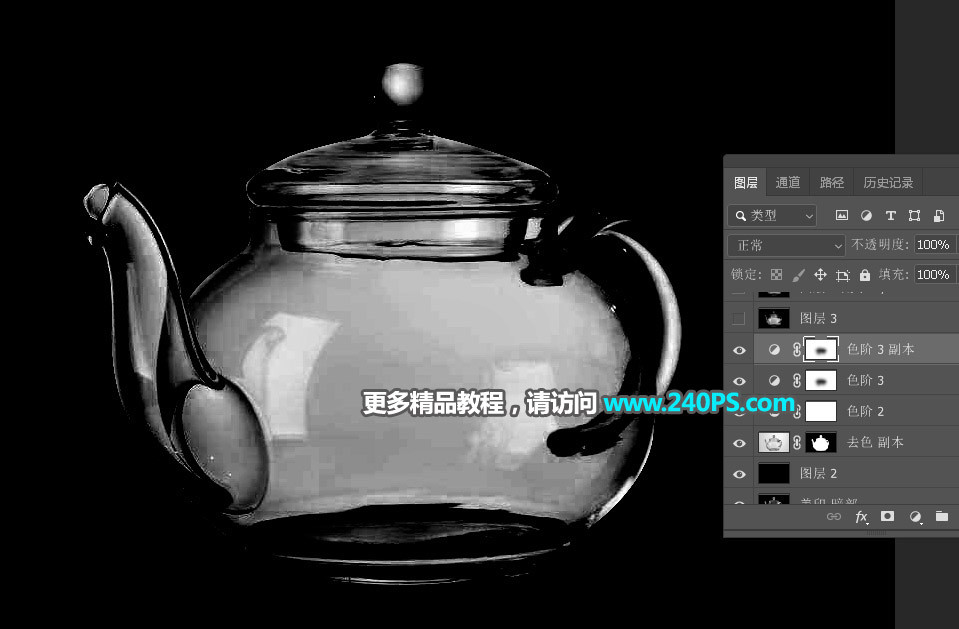
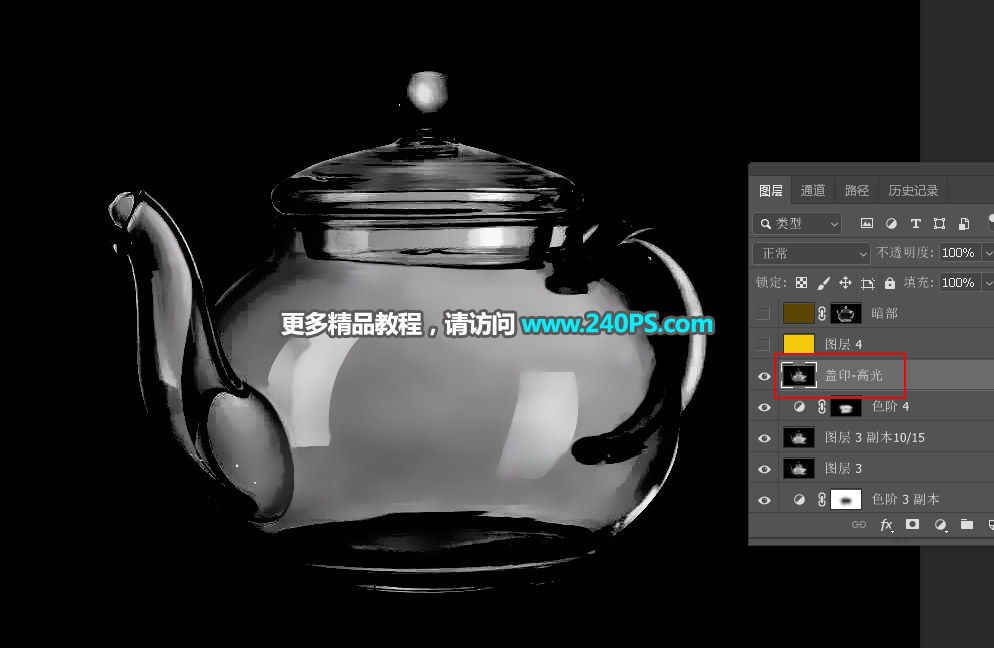
16、中间部分太亮的部分可以稍微压暗一点。
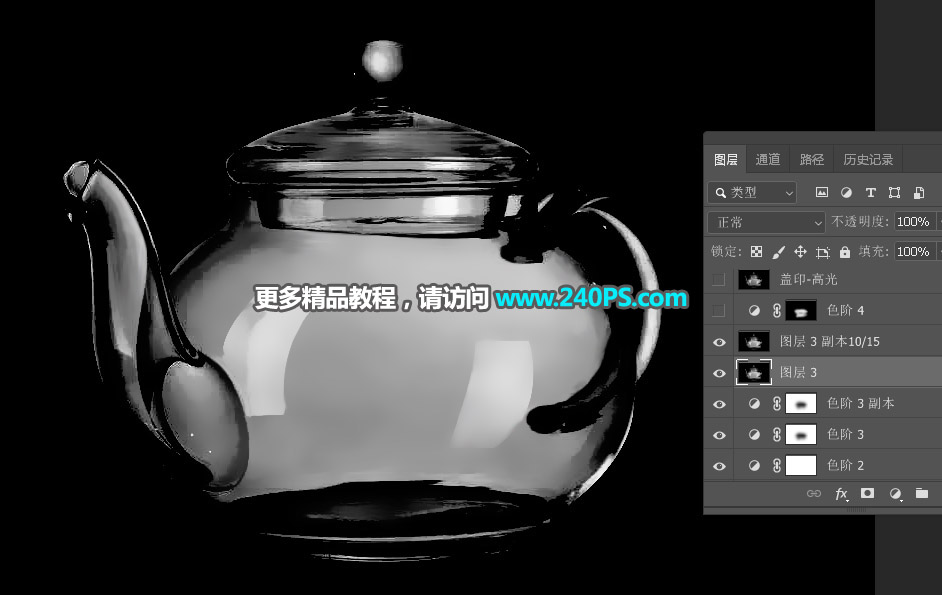
17、新建一个图层,盖印图层,命名为“盖印-高光”。
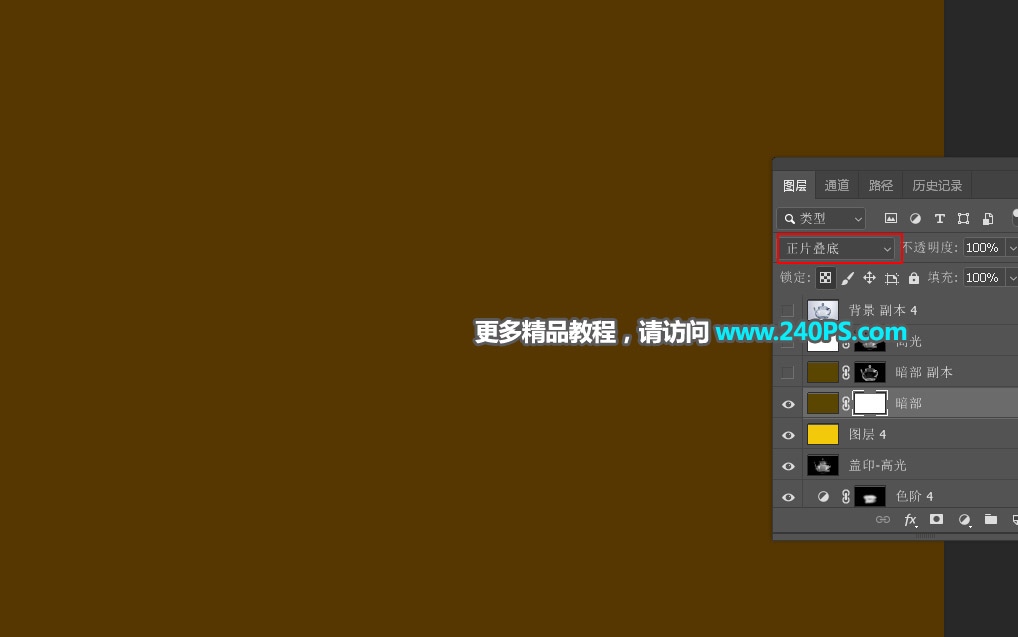
18、填充背景色。新建一个图层,填充橙黄色作为背景。

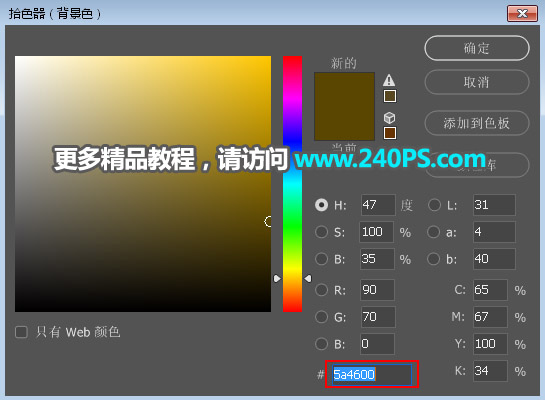
19、创建一个纯色填充图层,颜色设置为暗褐色#5a4600,确定后把混合模式改为“正片叠底”,如下图。
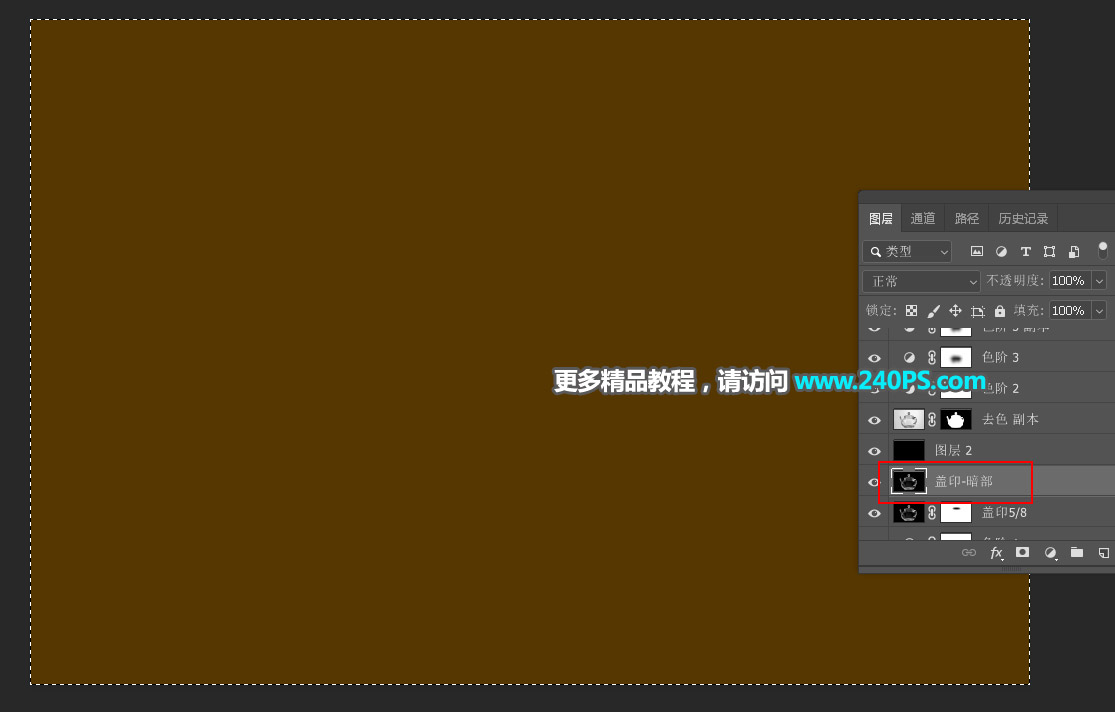
20、选择“盖印-暗部”图层,按Ctrl + A 全选,按Ctrl + C 复制。
21、选择顶部的填充图层,按住Alt键 + 鼠标左键点击蒙版缩略图,然后按Ctrl + V 把复制的图层粘贴进来,如下图。

22、再按住Alt键 + 鼠标左键点击蒙版缩略图,按Ctrl + D 取消选区,水壶暗部就提取完成。
23、按Ctrl + J 把当前图层复制一层,不透明度设置为80%,如下图。
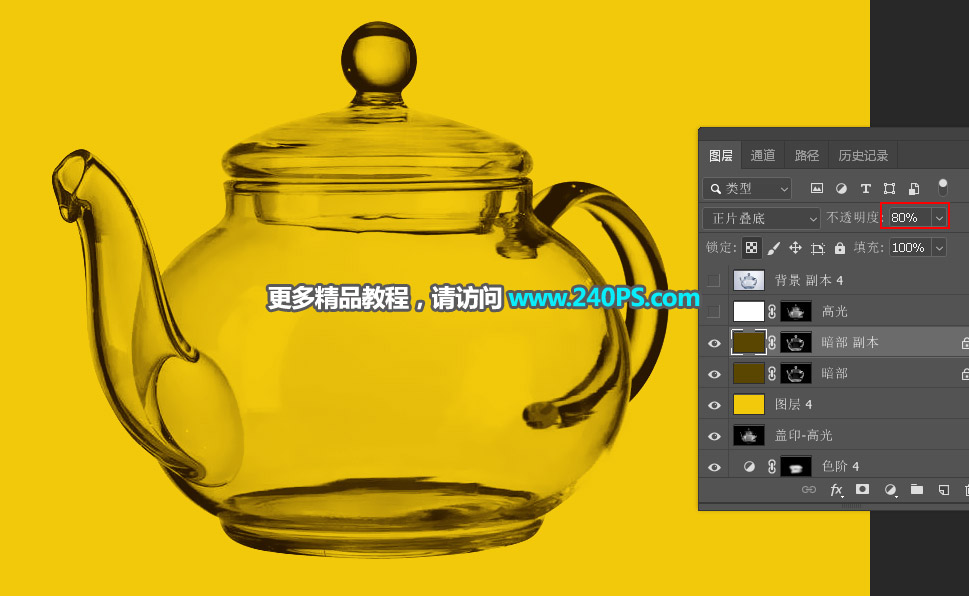
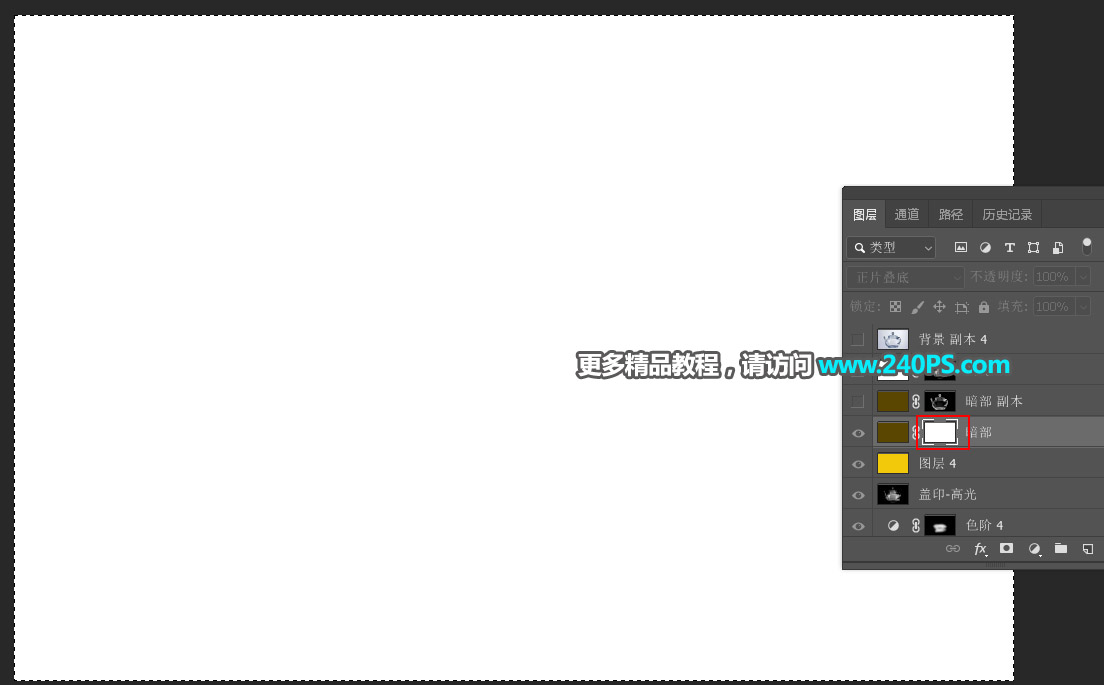
24、提取高光。创建一个纯色填充图层,颜色设置为白色,如下图。
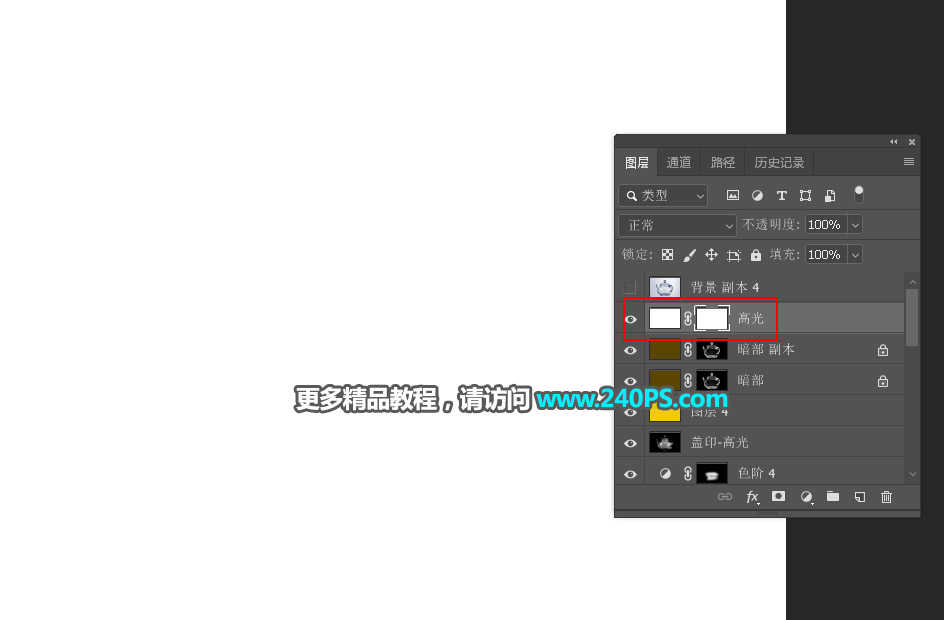
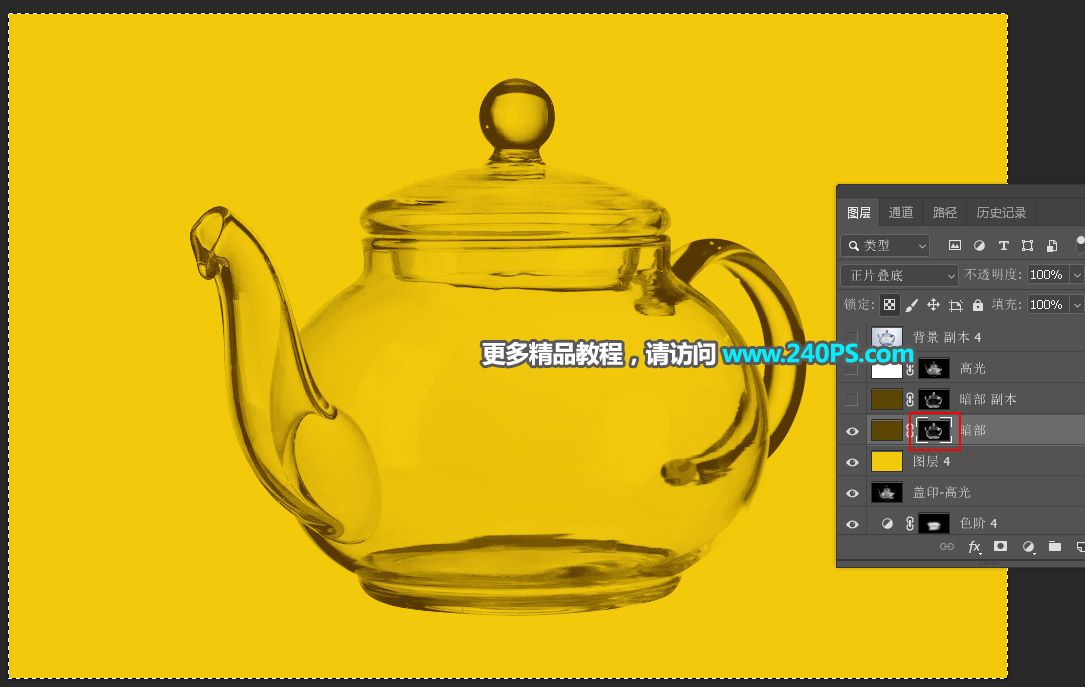
25、选择“盖印-高光”图层,按Ctrl + A 全选,按Ctrl + C 复制。

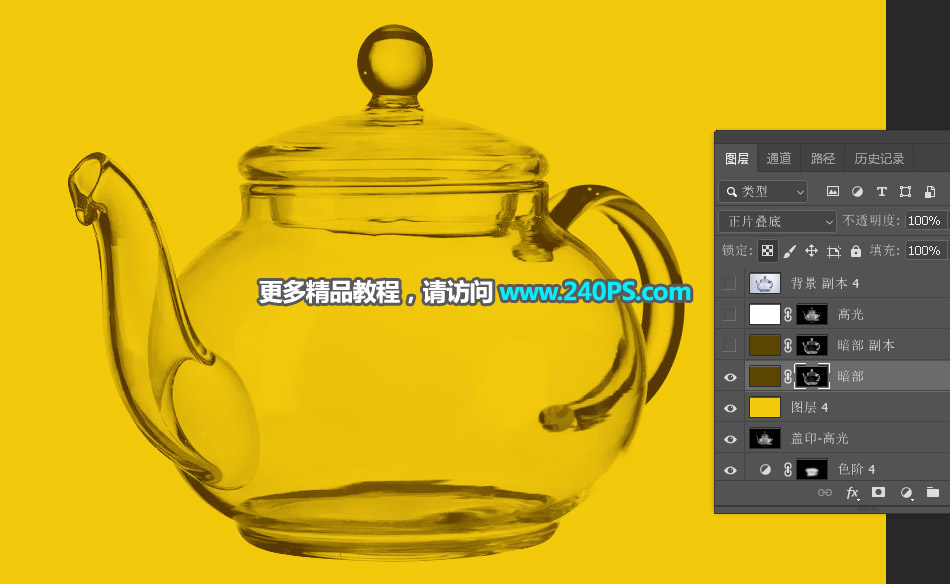
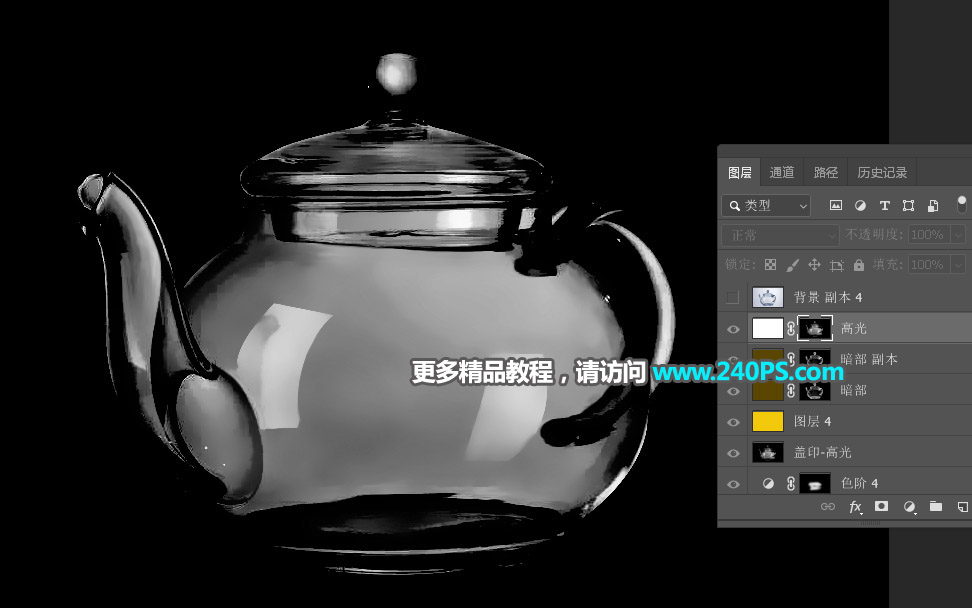
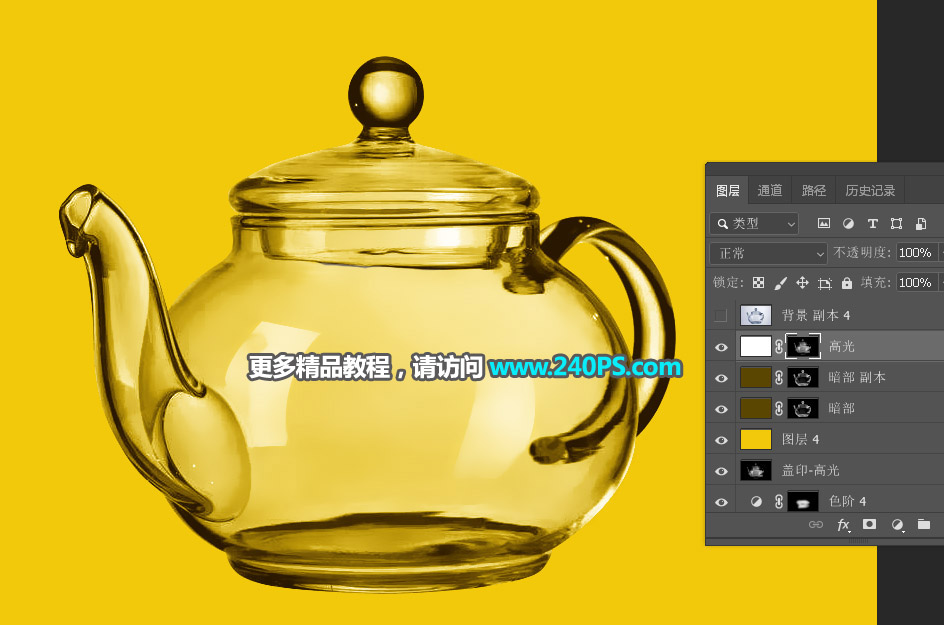
26、同样的方法把复制的图层粘贴到白色填充图层的蒙版里面,效果如下图。
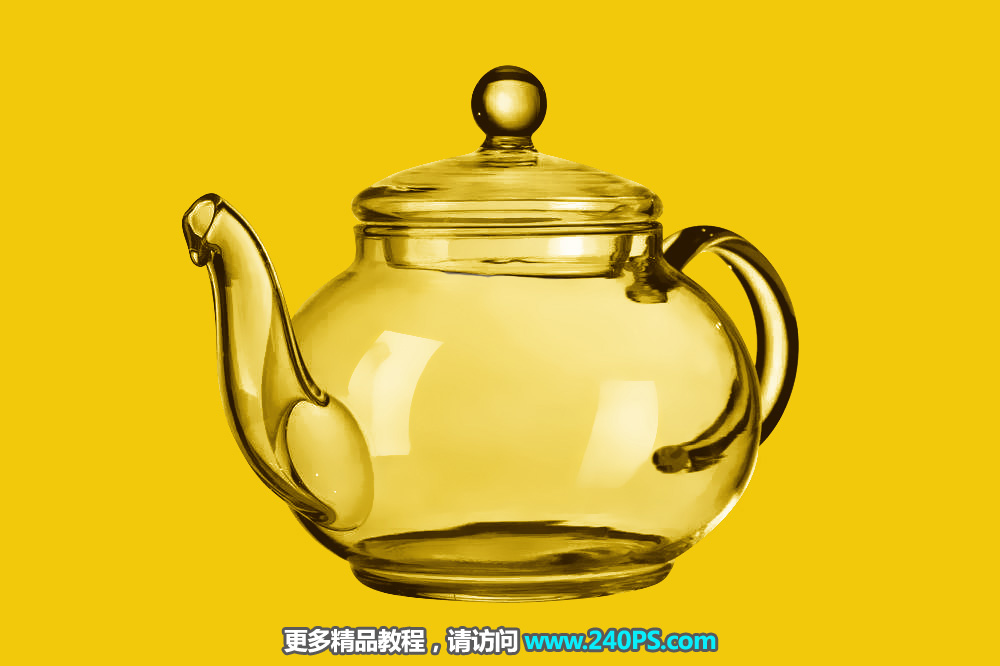
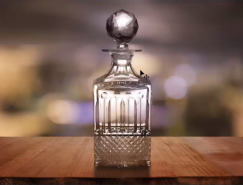
最终效果